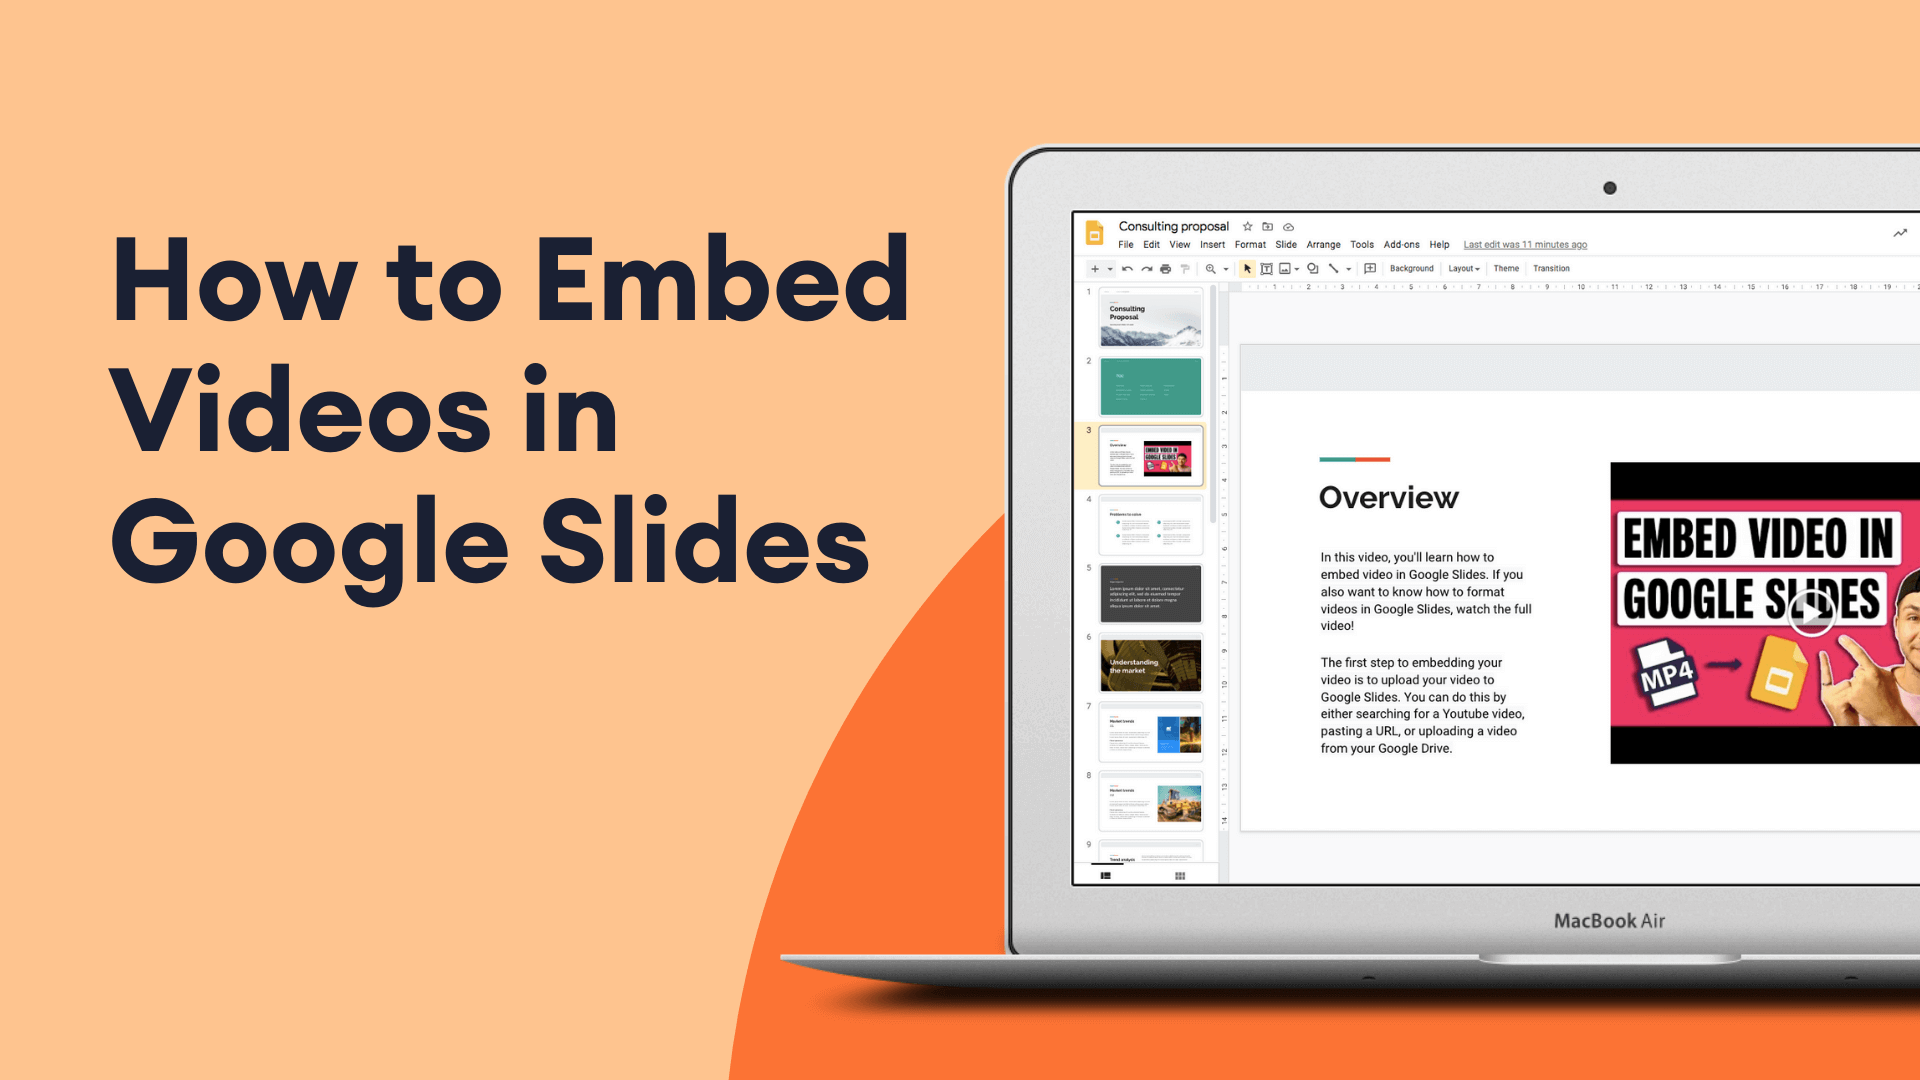
Want to learn how to put a video in your Google Slides presentation?
At VEED, an easy-to-use, yet powerful, video editor, we know the power of embedding a good video in your Google Slides presentation. According to recent research, only a shocking 4% of professionals put videos in their presentations.
This means that 96% are missing out on an effective medium to catch people’s attention and create a powerful presentation.
Want to stand out? Here’s the perfect tutorial for you!
You’ll learn:
- How to put a video in Google Slides in a super quick and easy way.
- How do you let someone access a video on Google Slides?
- How to edit a video embedded In Google Slides
- Google Slides video loop - a quick way to loop your videos for Google Slides
Let’s go!
How To Embed A Video In Google Slides In A Super Quick And Easy Way
1. Go to your Google Slides presentation
2. Go to the slide to embed your video in
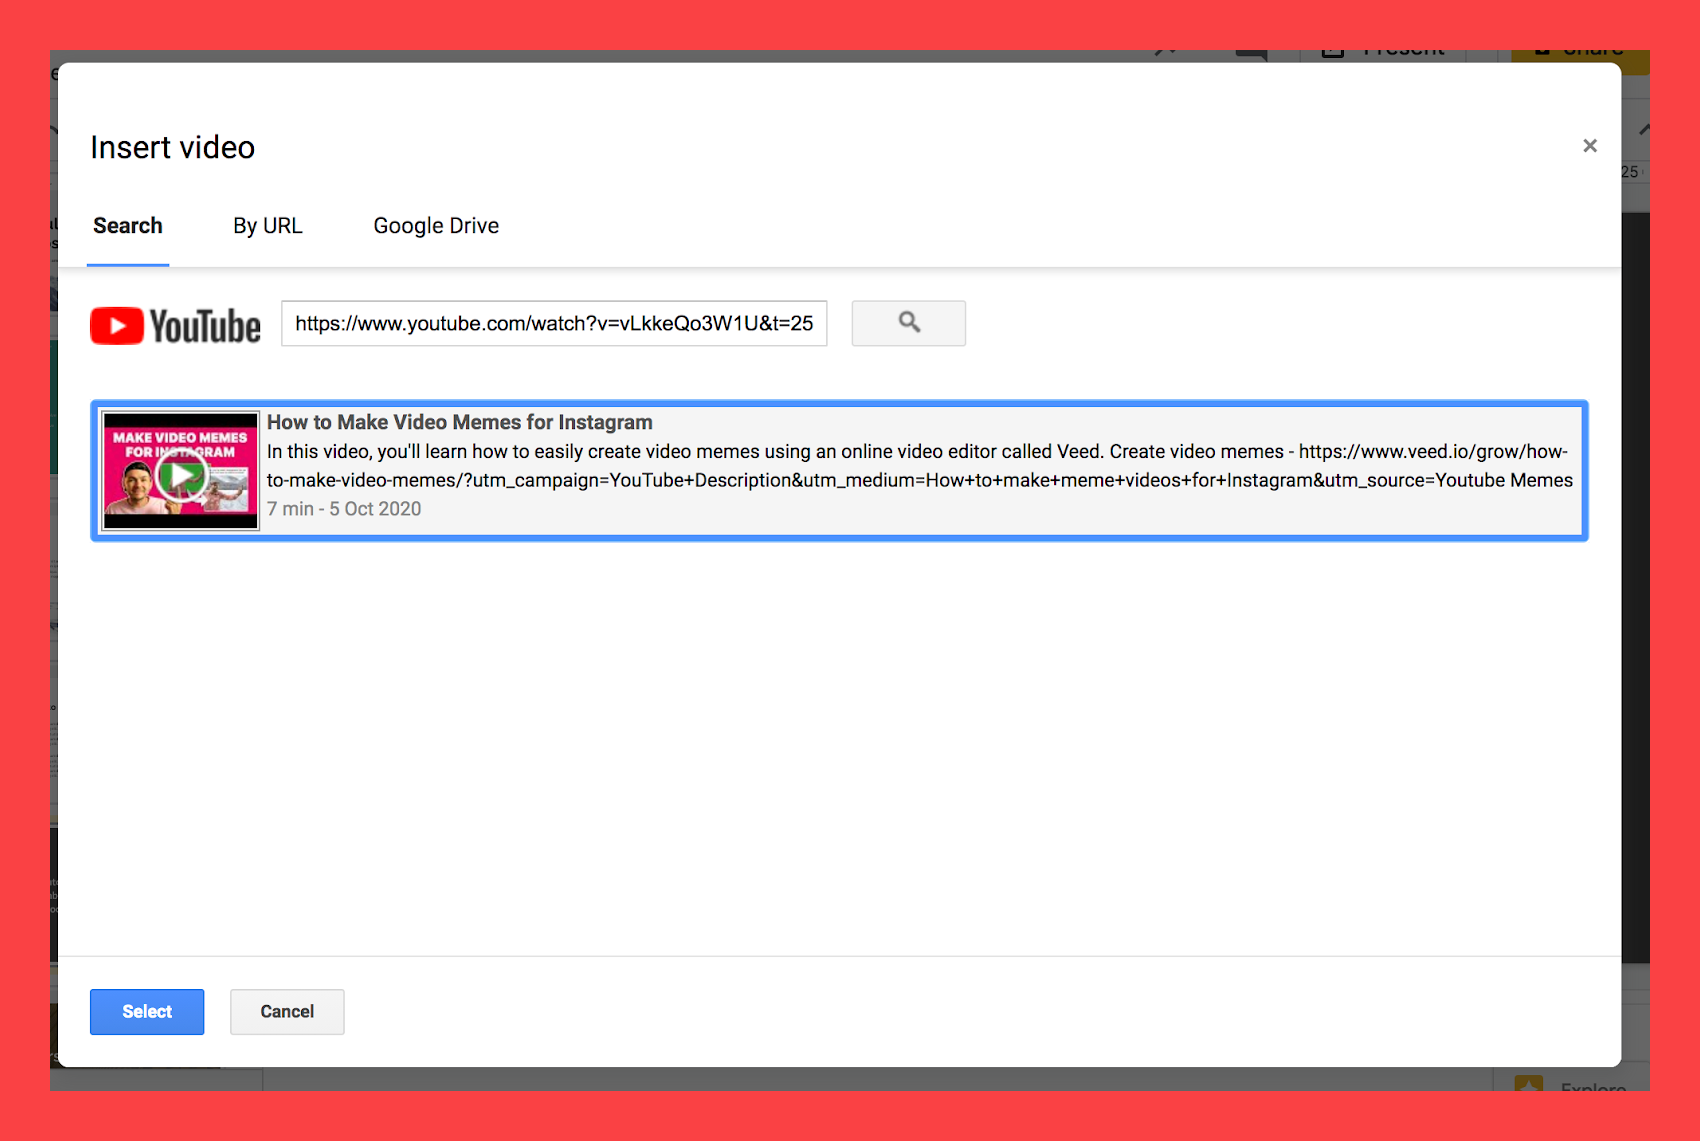
3. In the top menu bar, go to Insert > Video
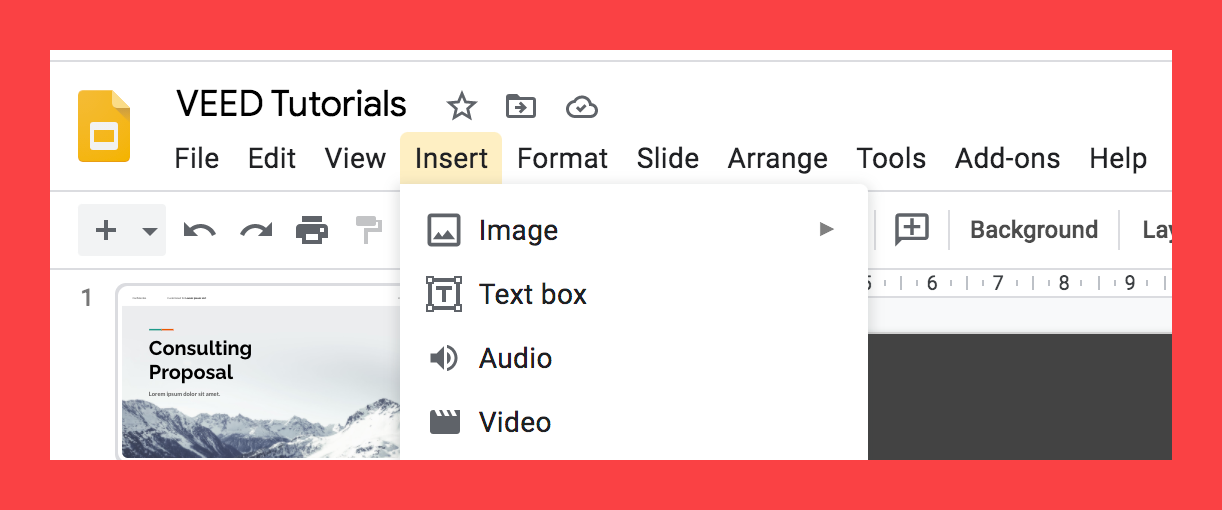
4a. Enter the link from YouTube and select the video
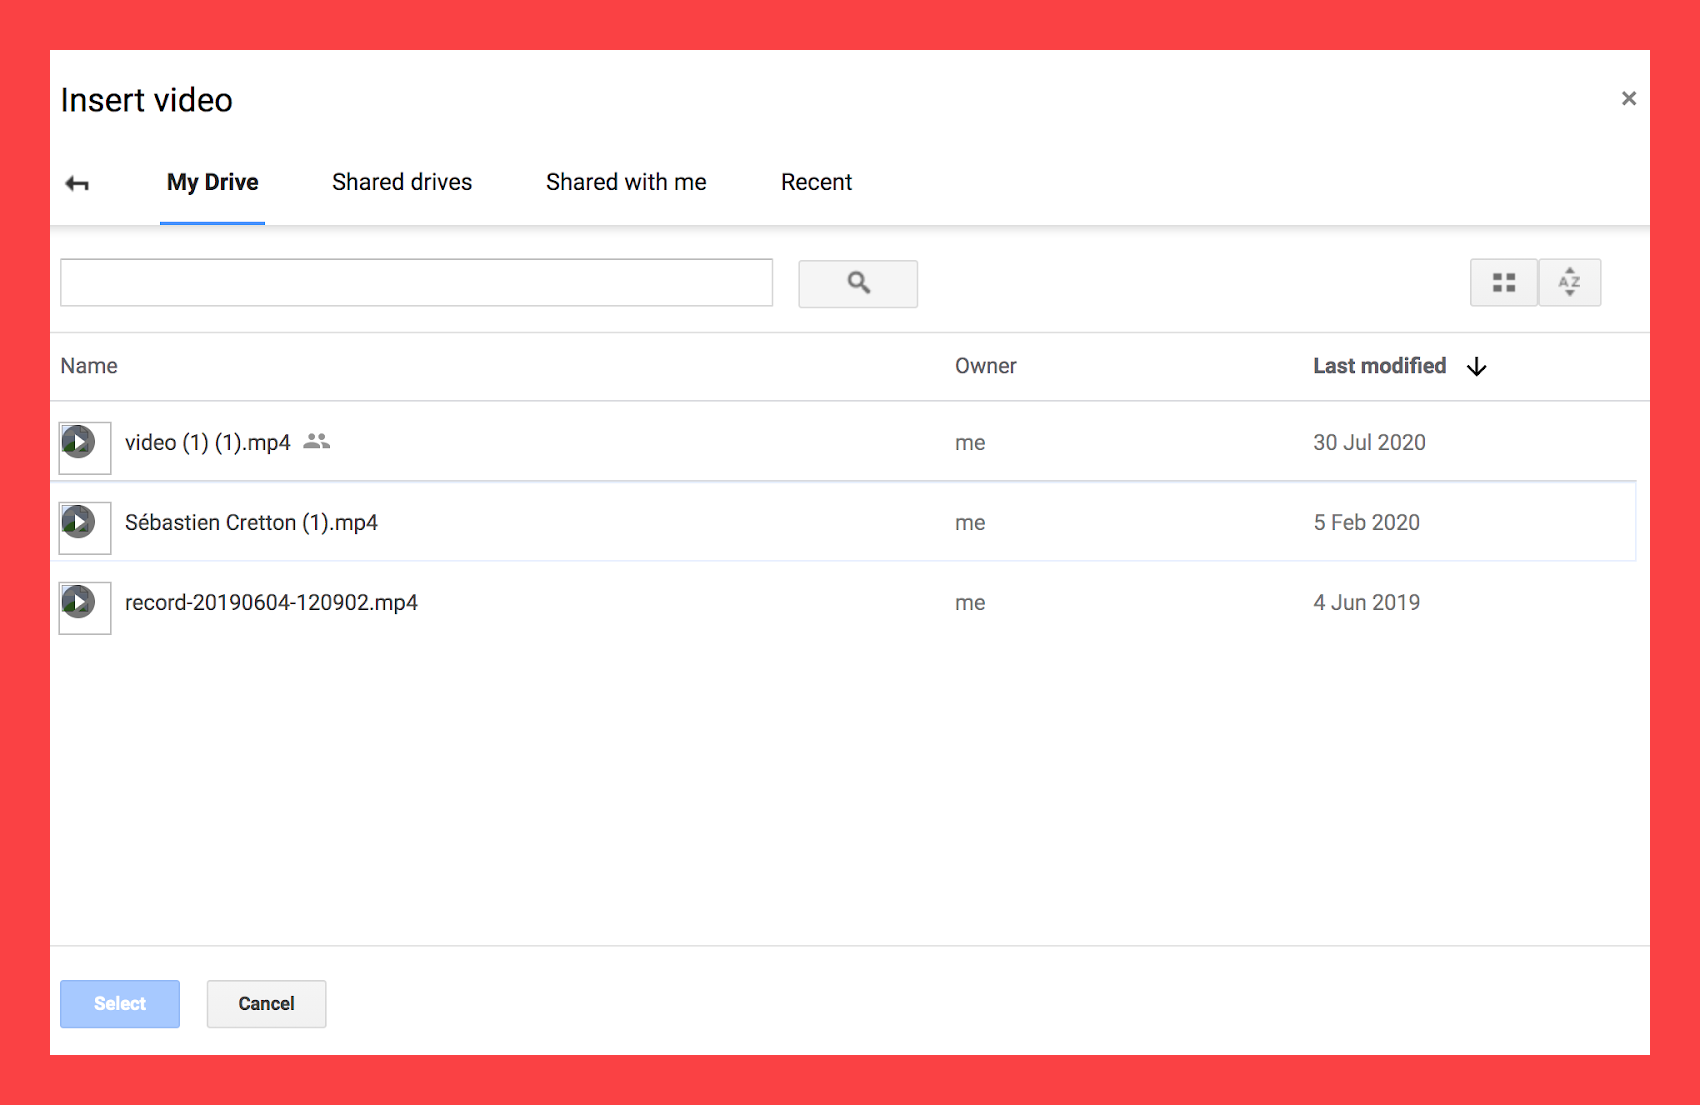
4b. Or use a video from Google Drive
Alternatively, you can also embed a video in Google Slides from your Google Drive folders.
Warning: Make sure that all of your editors can access this video from Google Drive. Otherwise, only the original creator will be able to play the video in the presentation (and not the editors).
5. Present your Google Slides with the video!
And voilà, there you have it. You’ve just embedded a video in your Google Slides presentation!
How Do You Let Someone Access A Video On Google Slides?
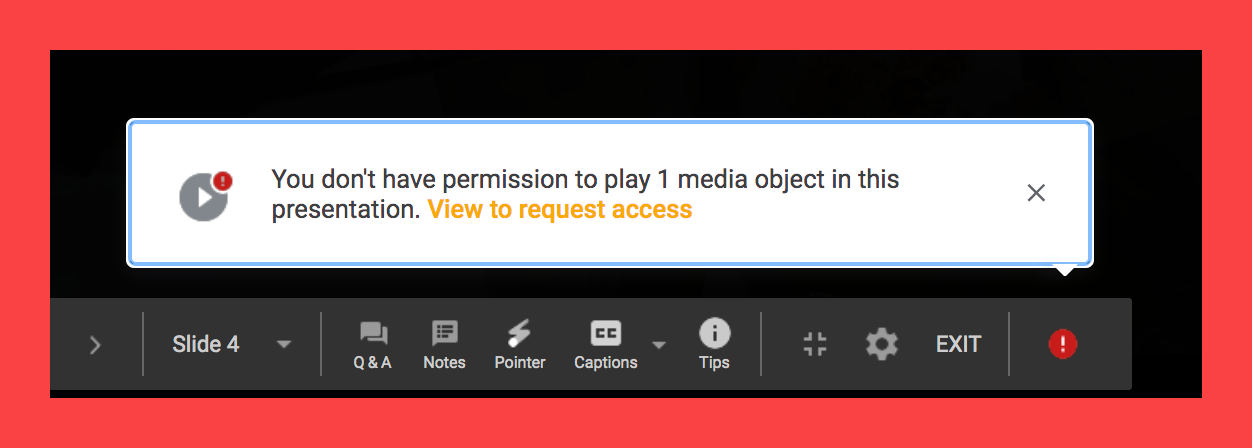
People who are allowed to edit your Google Slides presentation might not have access to the embedded video from your Google Drive.
Note: If this is the case, they won’t be able to play it during the presentation.
This is because your video has restricted access (ie only you can access it).
To make the embedded Google Drive video accessible to your editors, do the following steps:
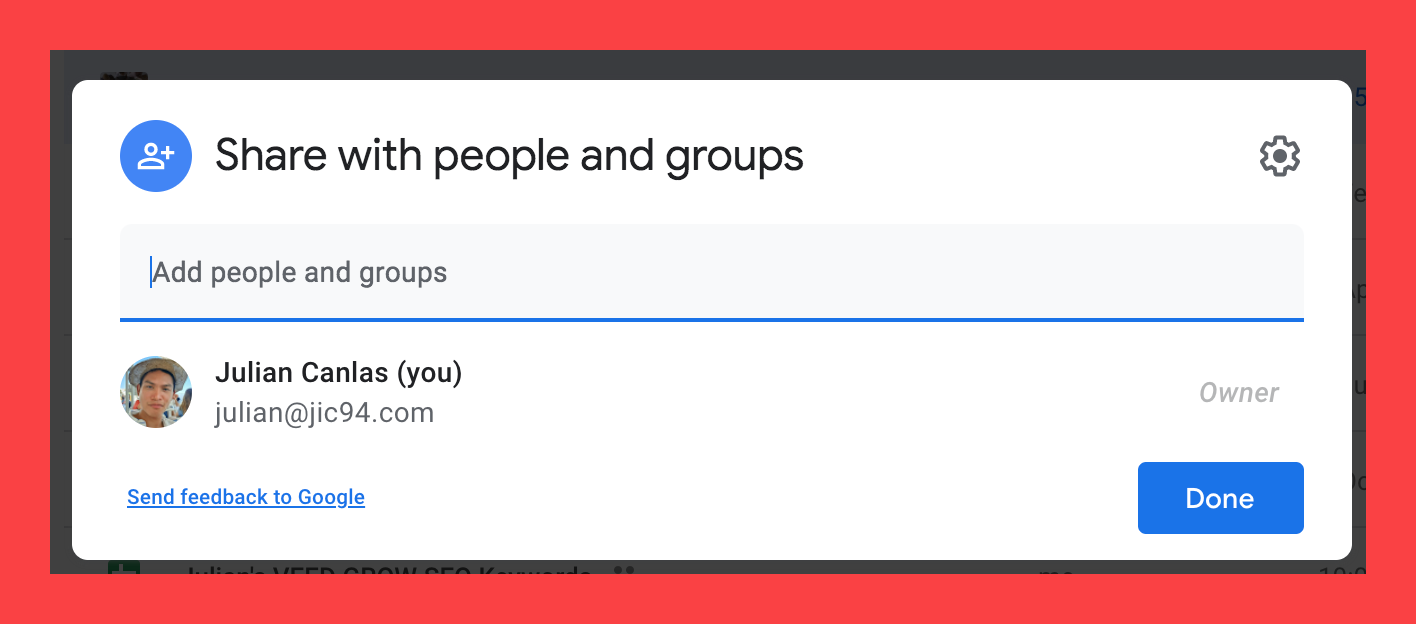
- Go to your Google Drive
- Right click on the video added in Google Slides
- Click Share.
You can either share the embedded video:
- To anyone with the link
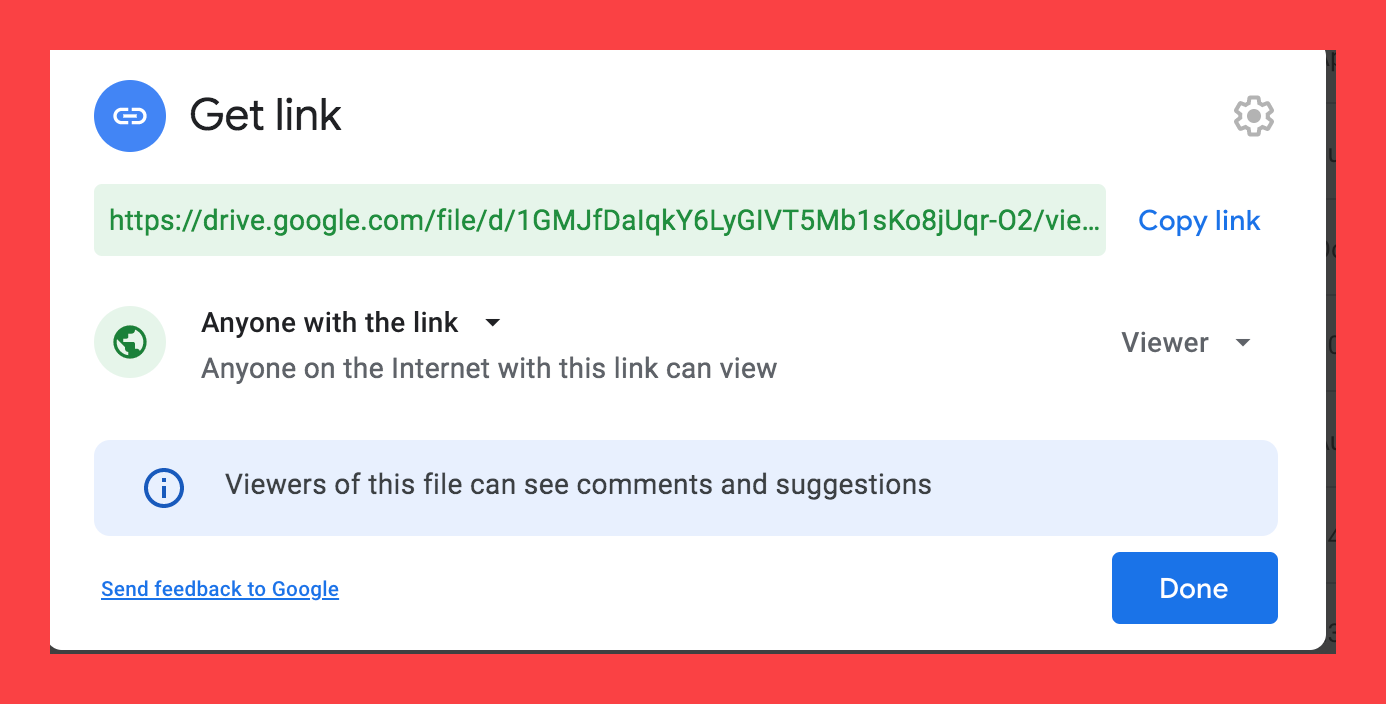
- With only the editors involved (enter their emails).
Then, your editors will be able to play the video while presenting the whole thing!
How To Edit A Video Embedded In Google Slides
You’ve just learned how to put a video in your Google Slides presentation. But now, it’s time to learn how to edit it for a quick formatting fix or two.
Note: Google Slides has very, very, very basic video editing capabilities (because it’s meant for presentations).
Use VEED’s easy-to-use, yet super powerful, video editor if you want to trim your video, add text, automatically add subtitles and other cool features.
1. In the top menu bar go to Format> Format Options

2. Video playback options

Here are the rudimentary video playback options with Google Slides. They’re quite easy to understand:
- Start at...End at: These denote at which points the embedded video starts to play and ends.
Here’s an example: Let’s say that you have a four-minute video but you only want it to play between 00:10 to 00:40.
Enter these values, so when you play this video embedded in your Google Slides presentation, it will start at 00:10 and stop playing at 00:40.
- Auto-play when presenting. With this is ticked, your video will automatically start when you get to this slide in your Google Slides presentation.
- Mute audio: Ticking this will mute your audio while the video’s playing.
3. Size and rotation options
You can either drag the ends of your video (upon clicking on it) to change its size and position.
Tick the Lock aspect ratio box, so that you can change the size of your video without changing the overall shape.
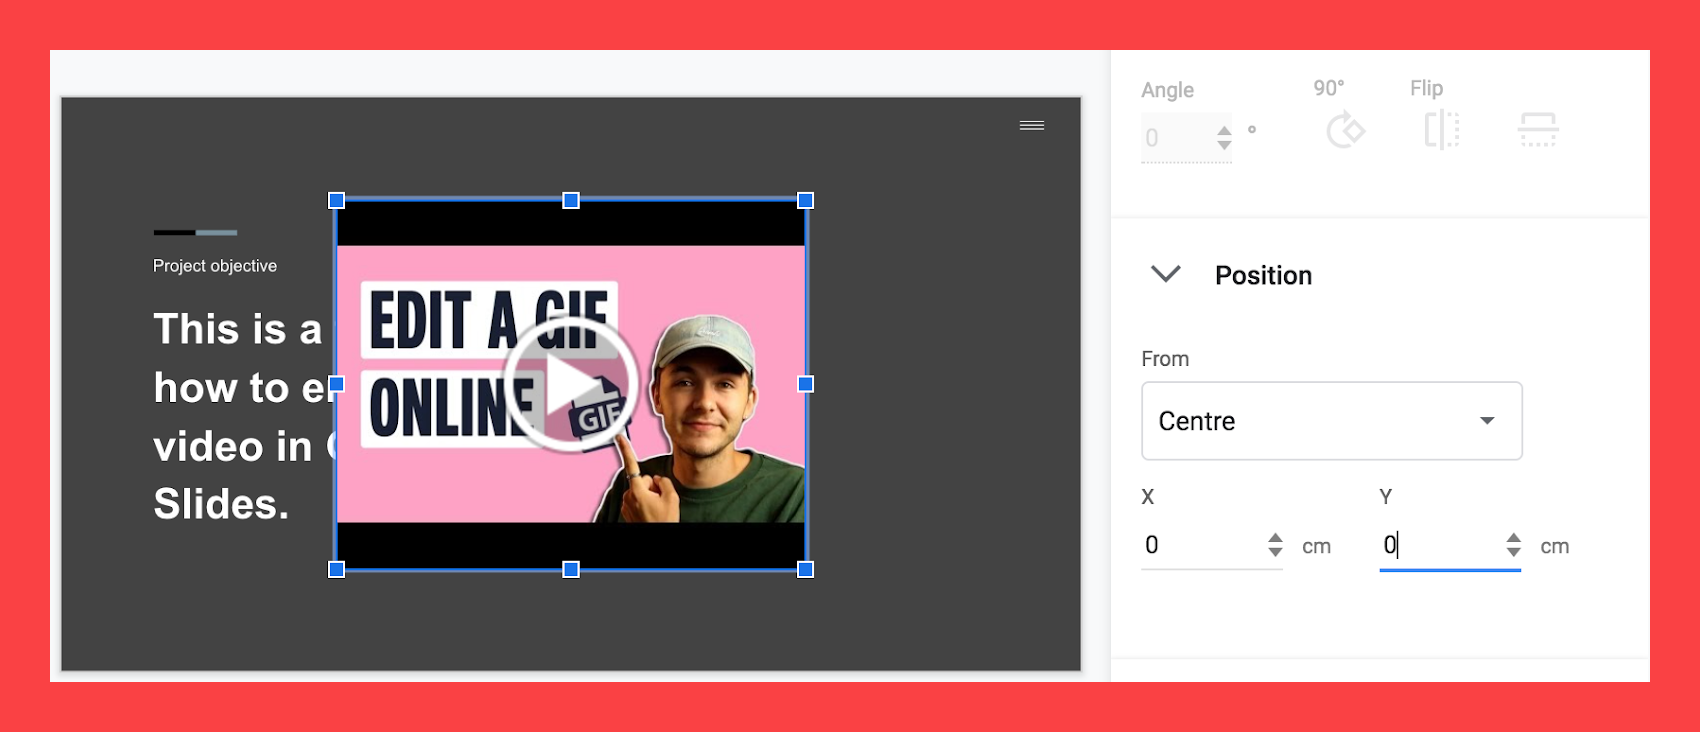
4. Position options
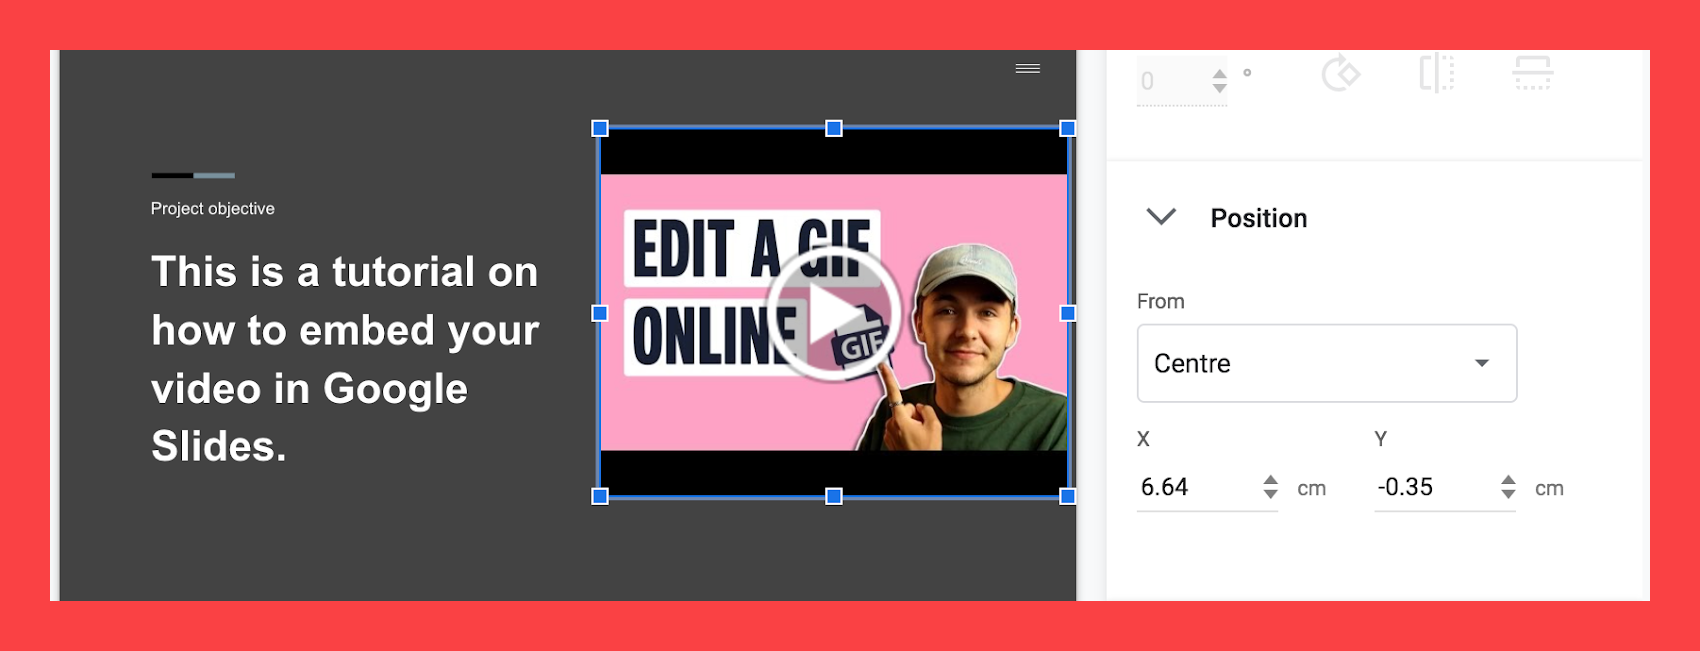
First off, you can drag the video you’ve embedded in Google Slides to change its location.
But if you want to change the coordinates numerically, you can alter the X and Y values to place your video anywhere in the Slide.
Don’t know what the From Center/Top left is all about? They’re basically base point references:
- From Center. If you put X:0 and Y:0, this puts your video in the center of the slide.
- From Top left. If you put X:0 and Y:0, this puts your embedded video in the top-left corner of the slide.

5. How to loop the basic way
If you want to loop the video, simply right click on the embedded video and select Loop.
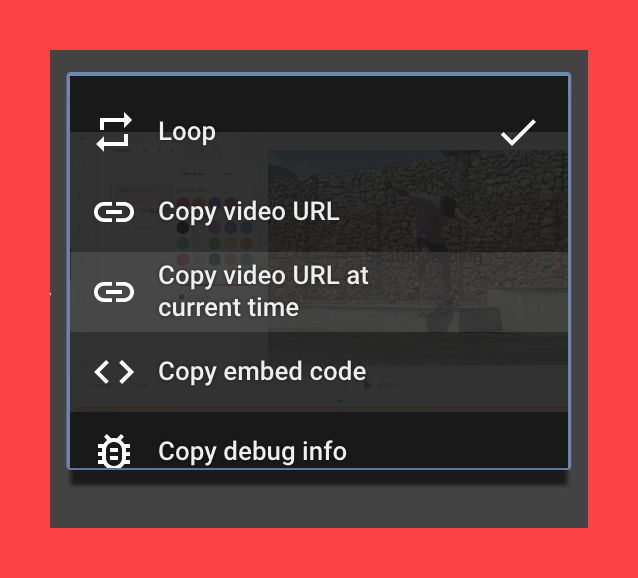
Here’s a big BUT: When your video ends, it doesn’t actually automatically loop, and you’ll have to do that yourself by clicking on the video. It’s not really useful for anyone.
Google Slides Loop Video - The Best and Easiest Way
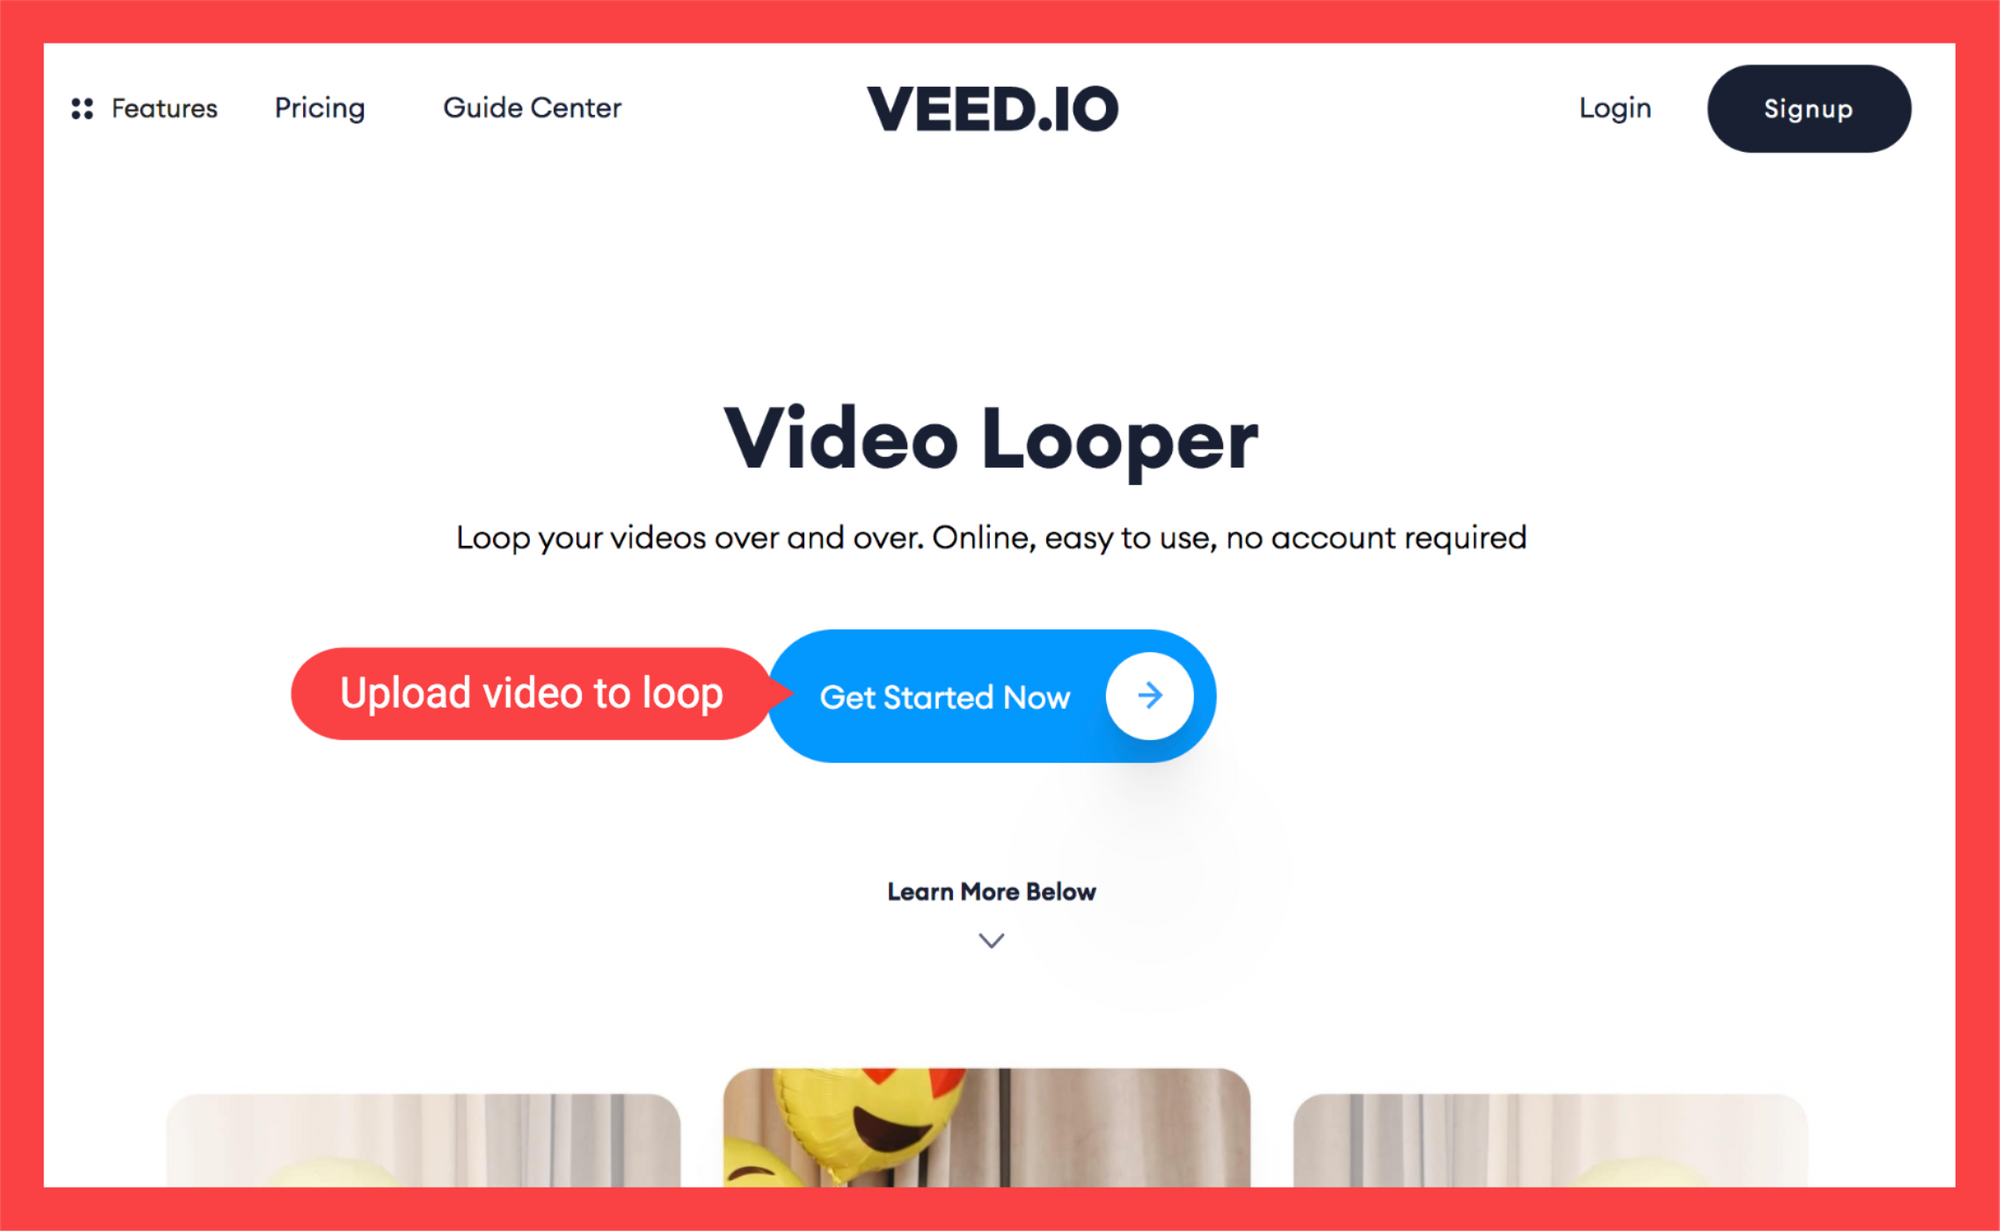
Now, here is the right way to loop your Google Slides video with VEED’s easy-to-use free video editor.
1) Go to VEED and upload the Google Slides video you want to loop
Note: If you want to save your project and start new ones, you can sign up for free.
You can upload from:
- Your local files
- YouTube video (just enter the link)
- Your webcam
- Dropbox
2. Click on Add Video button and upload the video to loop again

The Add video button is located above the timeline, to the left. Upload the video the same number of times that you want the clip to loop. Place it next to the other video to merge both clips seamlessly.
3a is for those who want to save the video they want to loop as an MP4 video file.
3b. Leave the video file as it is
Alternatively, you can also just save the video as a GIF. In this case, you won’t need to upload the same video clip over and over again because GIFs loop on their own.
4. Download the video you’ve just looped and put the video in Google Slides!
Hit Export, wait for the video to render, and download it as an MP4 video or as a GIF. And you’re done! Just go to Google Slides and put the looped video in.
Create And Edit Beautiful Video Presentations Using VEED!
In this tutorial, you’ve learned all that there is to know about embedding videos in Google Slides.
Of course, VEED is so much more than a video looper. You can also create short and beautiful videos for your Google Slides presentations. You can add text to your video, merge, trim and split your videos, add an audiogram, and so on.
For more tutorials and helpful guides on how to make amazing videos to engage with your audience, subscribe to us on YouTube and Instagram.