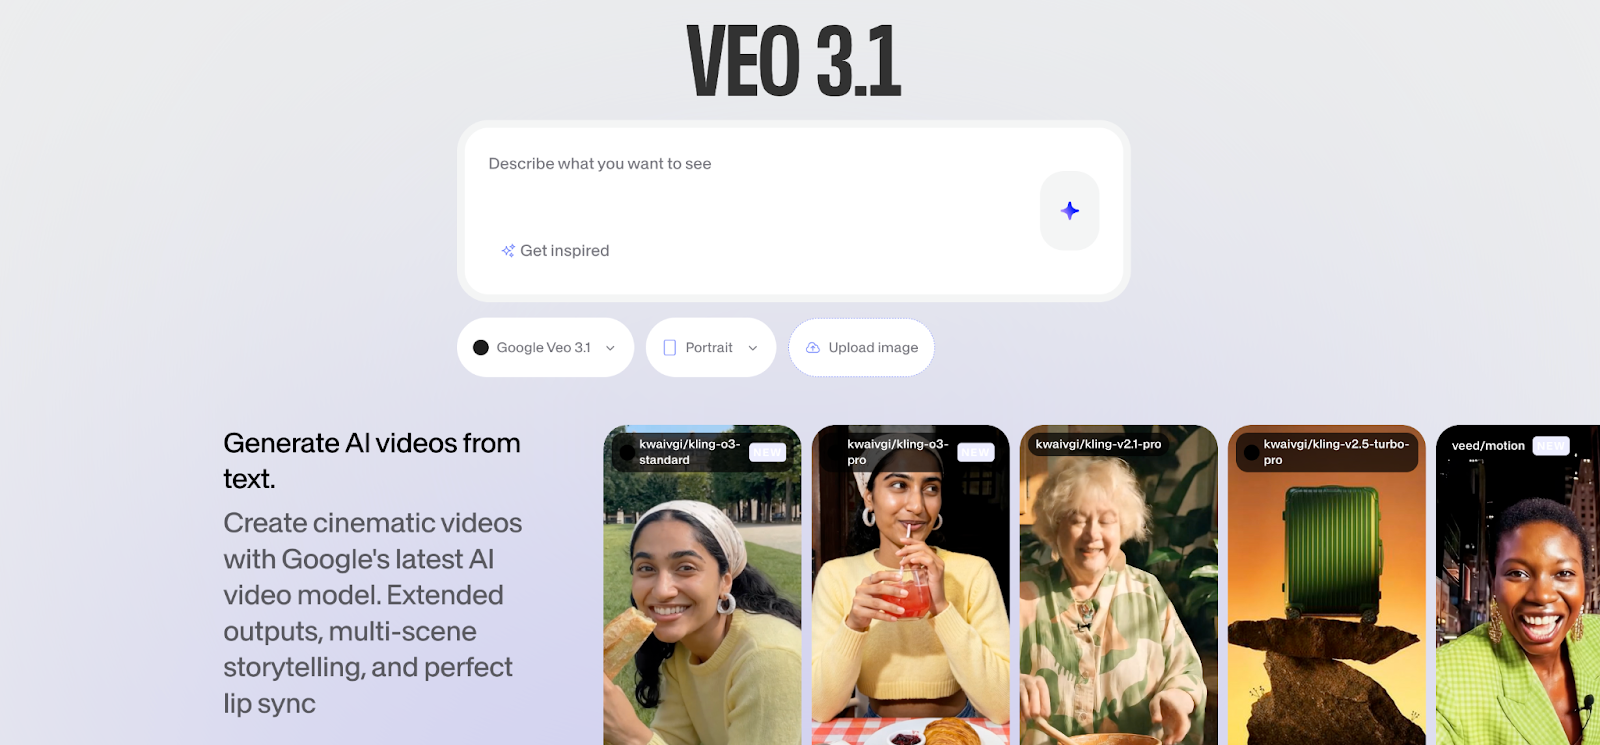
Veo 3.1 essentials
- Veo 3.1 is Google's AI video generator that creates up to 2-minute clips with cinematic quality, exceptional physics simulation, and professional cinematography capabilities.
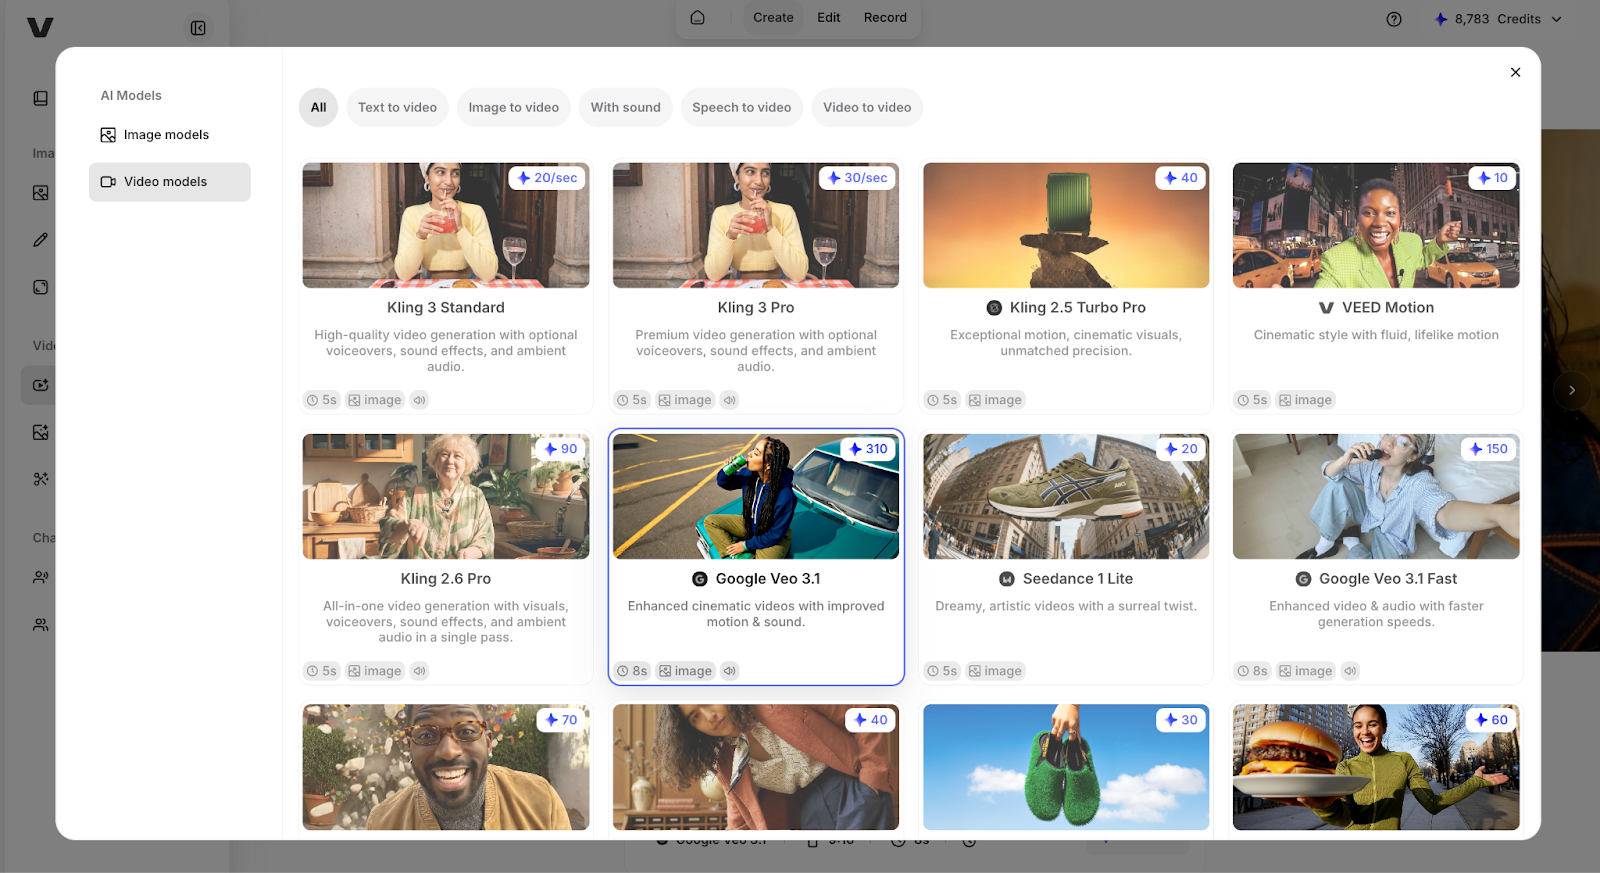
- Access Veo 3.1 through Google's VideoFX platform or VEED's AI Playground for streamlined workflows with direct video editing integration
- Veo 3.1 generates videos in 30-90 seconds, depending on duration and complexity, with best results using professional film terminology and structured prompts.
Google Veo 3.1 is Google's most advanced AI video model, producing cinema-quality videos with realistic physics, extended 2-minute duration, and exceptional prompt adherence. This "How to use Veo 3.1” guide walks you through accessing the tool, writing effective prompts, and optimizing results for professional use. Whether you're creating marketing content, concept videos, or creative projects, understanding how to prompt Veo 3.1 properly unlocks significantly better results.
Content creators, marketers, and filmmakers use Veo 3.1 to create cinematic sequences, product demonstrations, concept visualizations, and storytelling. This guide covers everything from account setup to advanced prompting techniques.
What you need to get started
Access requirements:
- VEED account with AI Playground access
- Basic understanding of cinematography terminology
- Clear vision of the video you want to create
Quick preparation tips:
- Use film language: Veo 3.1 responds best to professional cinematography terms like "dolly shot," "rack focus," and "Dutch angle."
- Plan your shot: Think like a director—what's the camera doing, where's the subject, what's the lighting setup?
- Keep physics realistic: Veo 3.1 excels at natural physics, so avoid requests that defy gravity or natural motion.
Step-by-step: How to use Veo 3.1 in VEED's AI Playground
Step 1: Access VEED's AI Playground
Navigate to VEED's AI Playground and sign in to your VEED account. If you don't have an account, create one in under a minute.
Once logged in, you'll see the AI Playground dashboard with multiple AI video generators available. Locate and select Google Veo 3.1 from the model options.
Step 2: Choose your video duration
Veo 3.1 offers flexible duration options based on your needs:
Duration options:
- Short clips: 5-10 seconds (fastest generation, ~30 seconds)
- Medium clips: 30-60 seconds (standard generation, ~60 seconds)
- Extended clips: Up to 2 minutes (longer processing, ~90 seconds)
Select your preferred duration. For your first attempt, start with shorter clips to test your prompting approach before committing to longer renders.
Step 3: Write your Veo 3.1 prompt
How to write prompts for Google Veo 3.1 effectively requires understanding its preference for cinematography language.
Veo 3.1 prompt structure:
[Shot type/Camera work] + [Subject/Action] + [Environment] + [Lighting] + [Style/Mood]
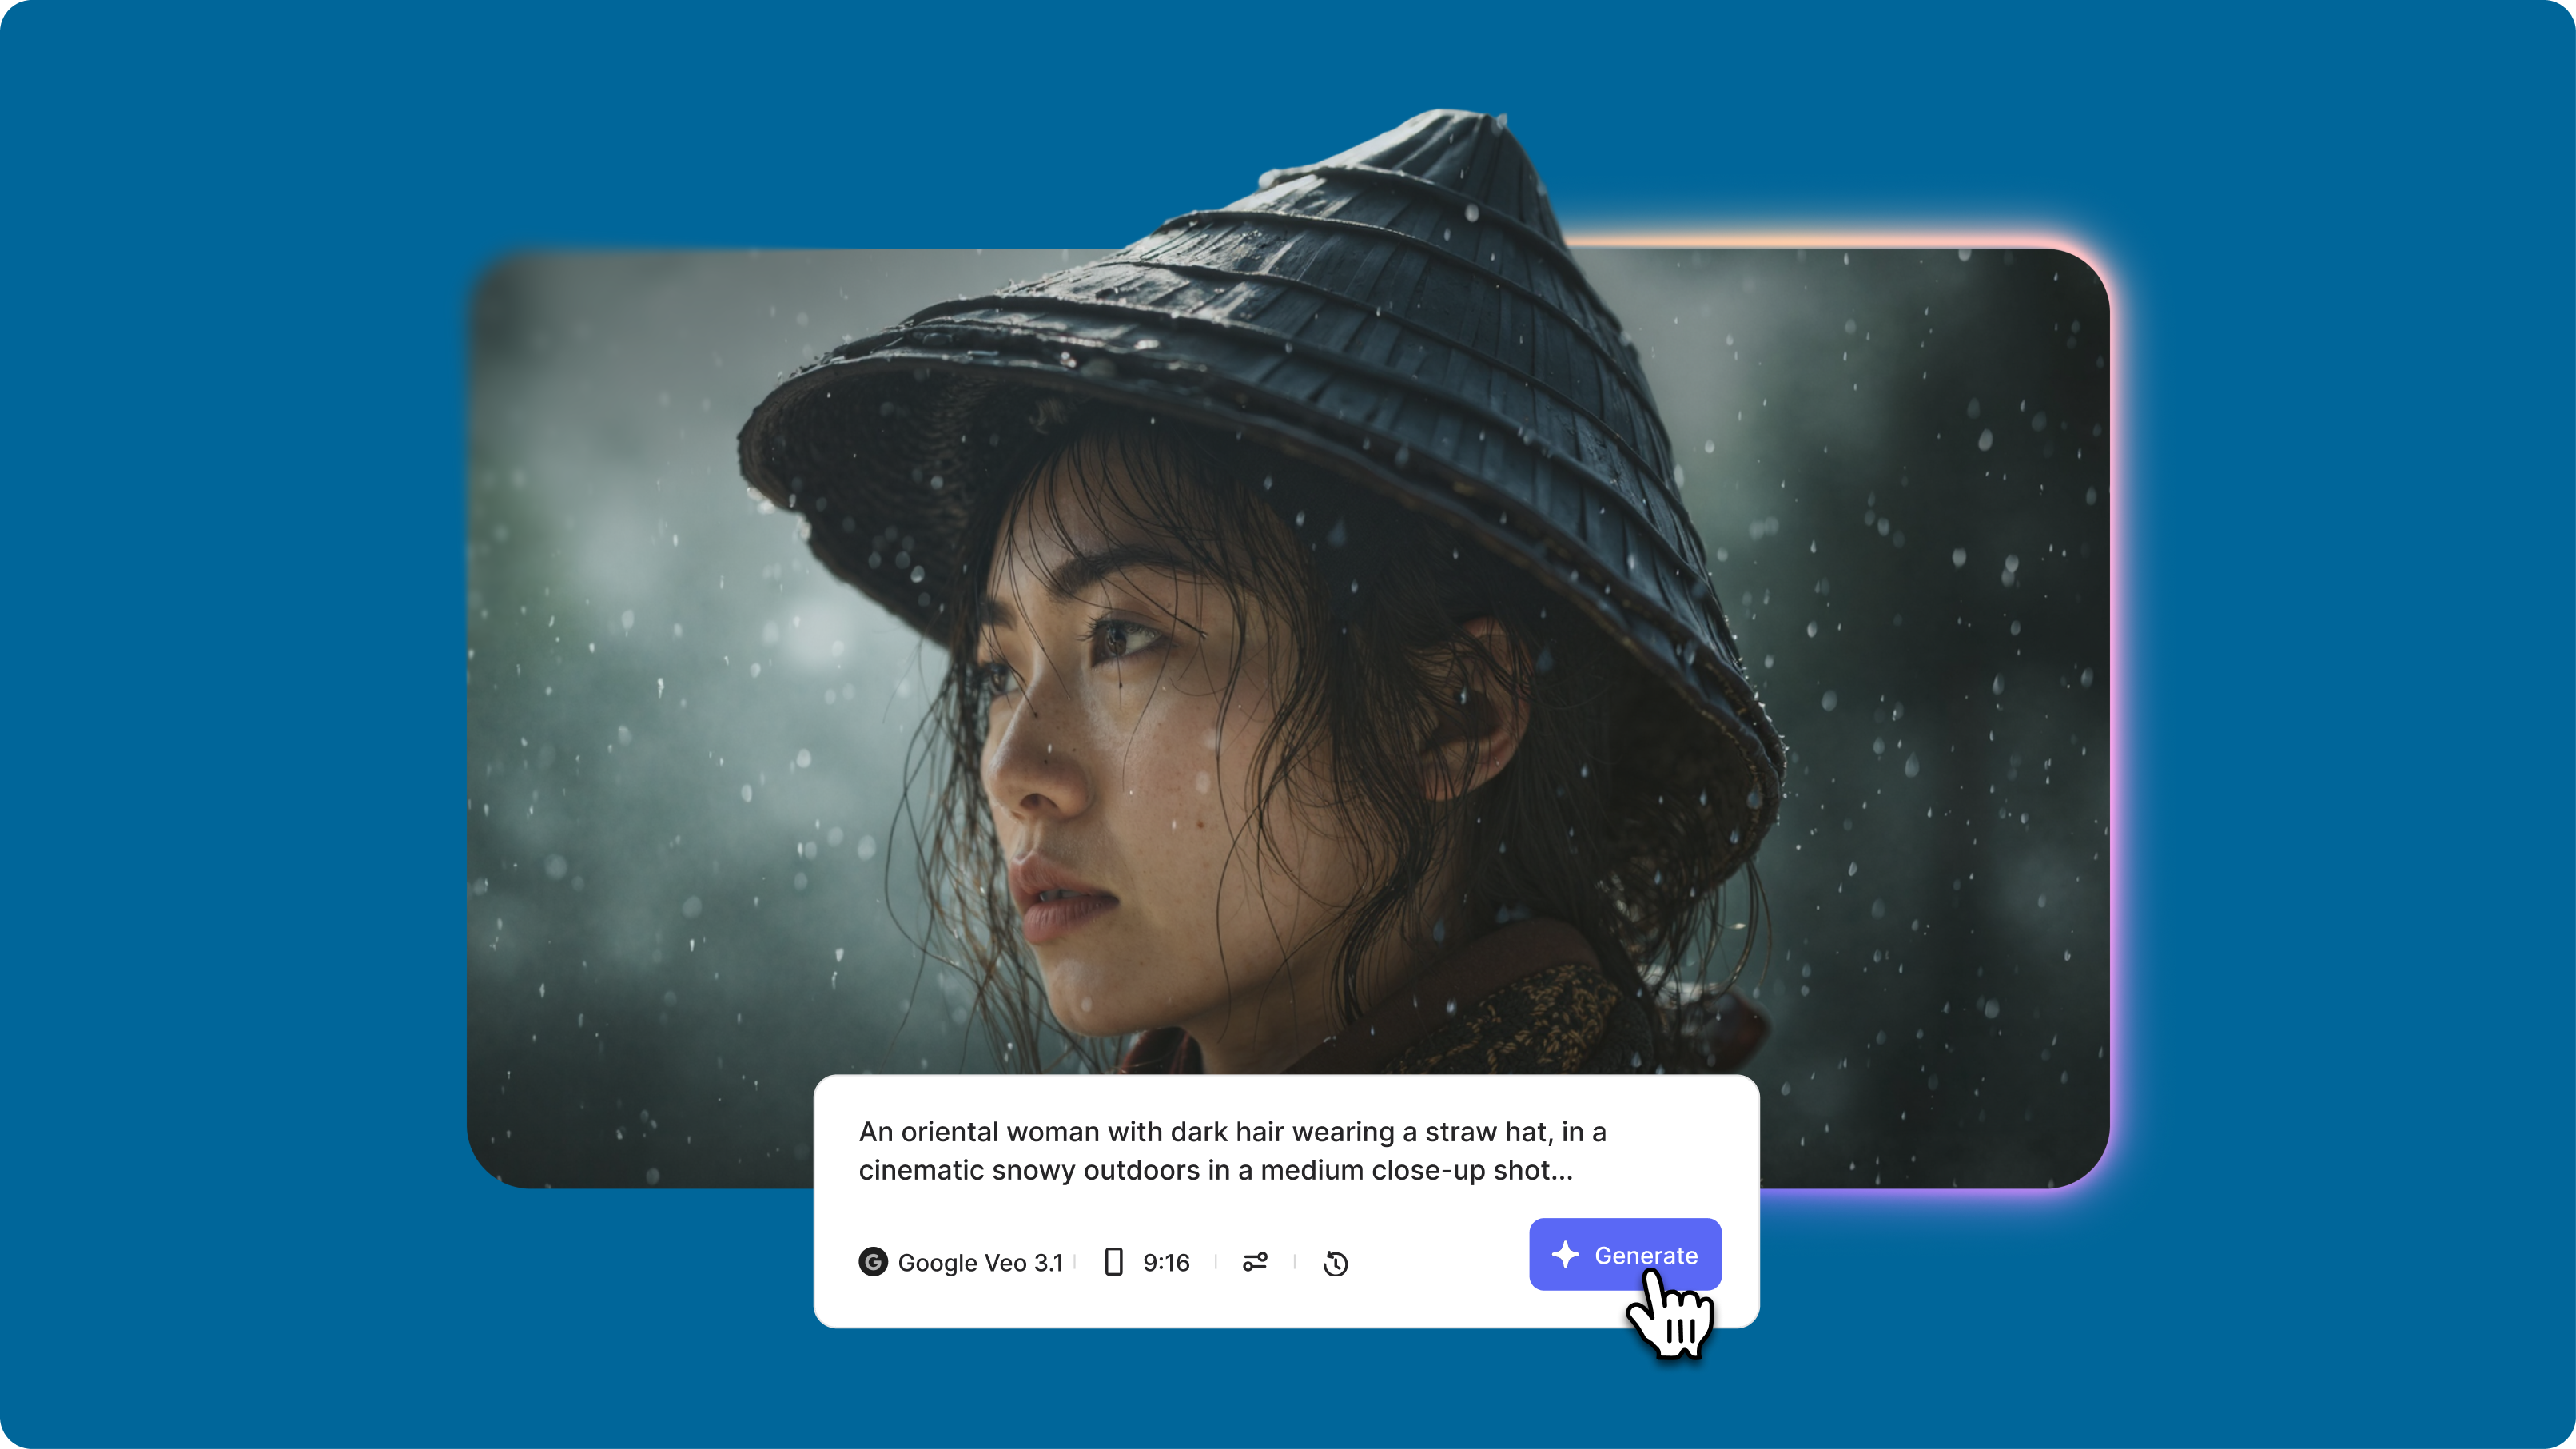
Example prompt: "Slow tracking shot following from behind, professional chef in white uniform chopping vegetables with precise knife movements on wooden cutting board, modern commercial kitchen with stainless steel surfaces and hanging copper pots, warm natural window light from left creating soft shadows, cinematic documentary style with rich colors and shallow depth of field"
Do's:
- Use professional film terms: "dolly zoom," "crane shot," "rack focus," "Dutch angle."
- Specify lighting quality: "golden hour," "three-point lighting," "dramatic side lighting."
- Define camera movement precisely: "slow push-in," "orbiting shot," "static medium close-up."
Don'ts:
- Use vague terms like "nice camera" or "good lighting."
- Request abstract concepts without concrete visual details
- Combine multiple conflicting camera movements in one prompt
Step 4: Add a negative prompt (optional but recommended)
Veo 3.1 negative prompts eliminate unwanted artifacts and ensure clean results.
Standard negative prompt:
Negative: motion blur, distortion, warping, face morphing, inconsistent lighting, background shifting, unnatural physics, floating objects
When to customize: Add specific terms if your subject has elements prone to errors. For people, add "eye distortion, teeth morphing." For objects, add "texture inconsistencies, scale changes."
Step 5: Configure advanced settings
Before generating, adjust available parameters:
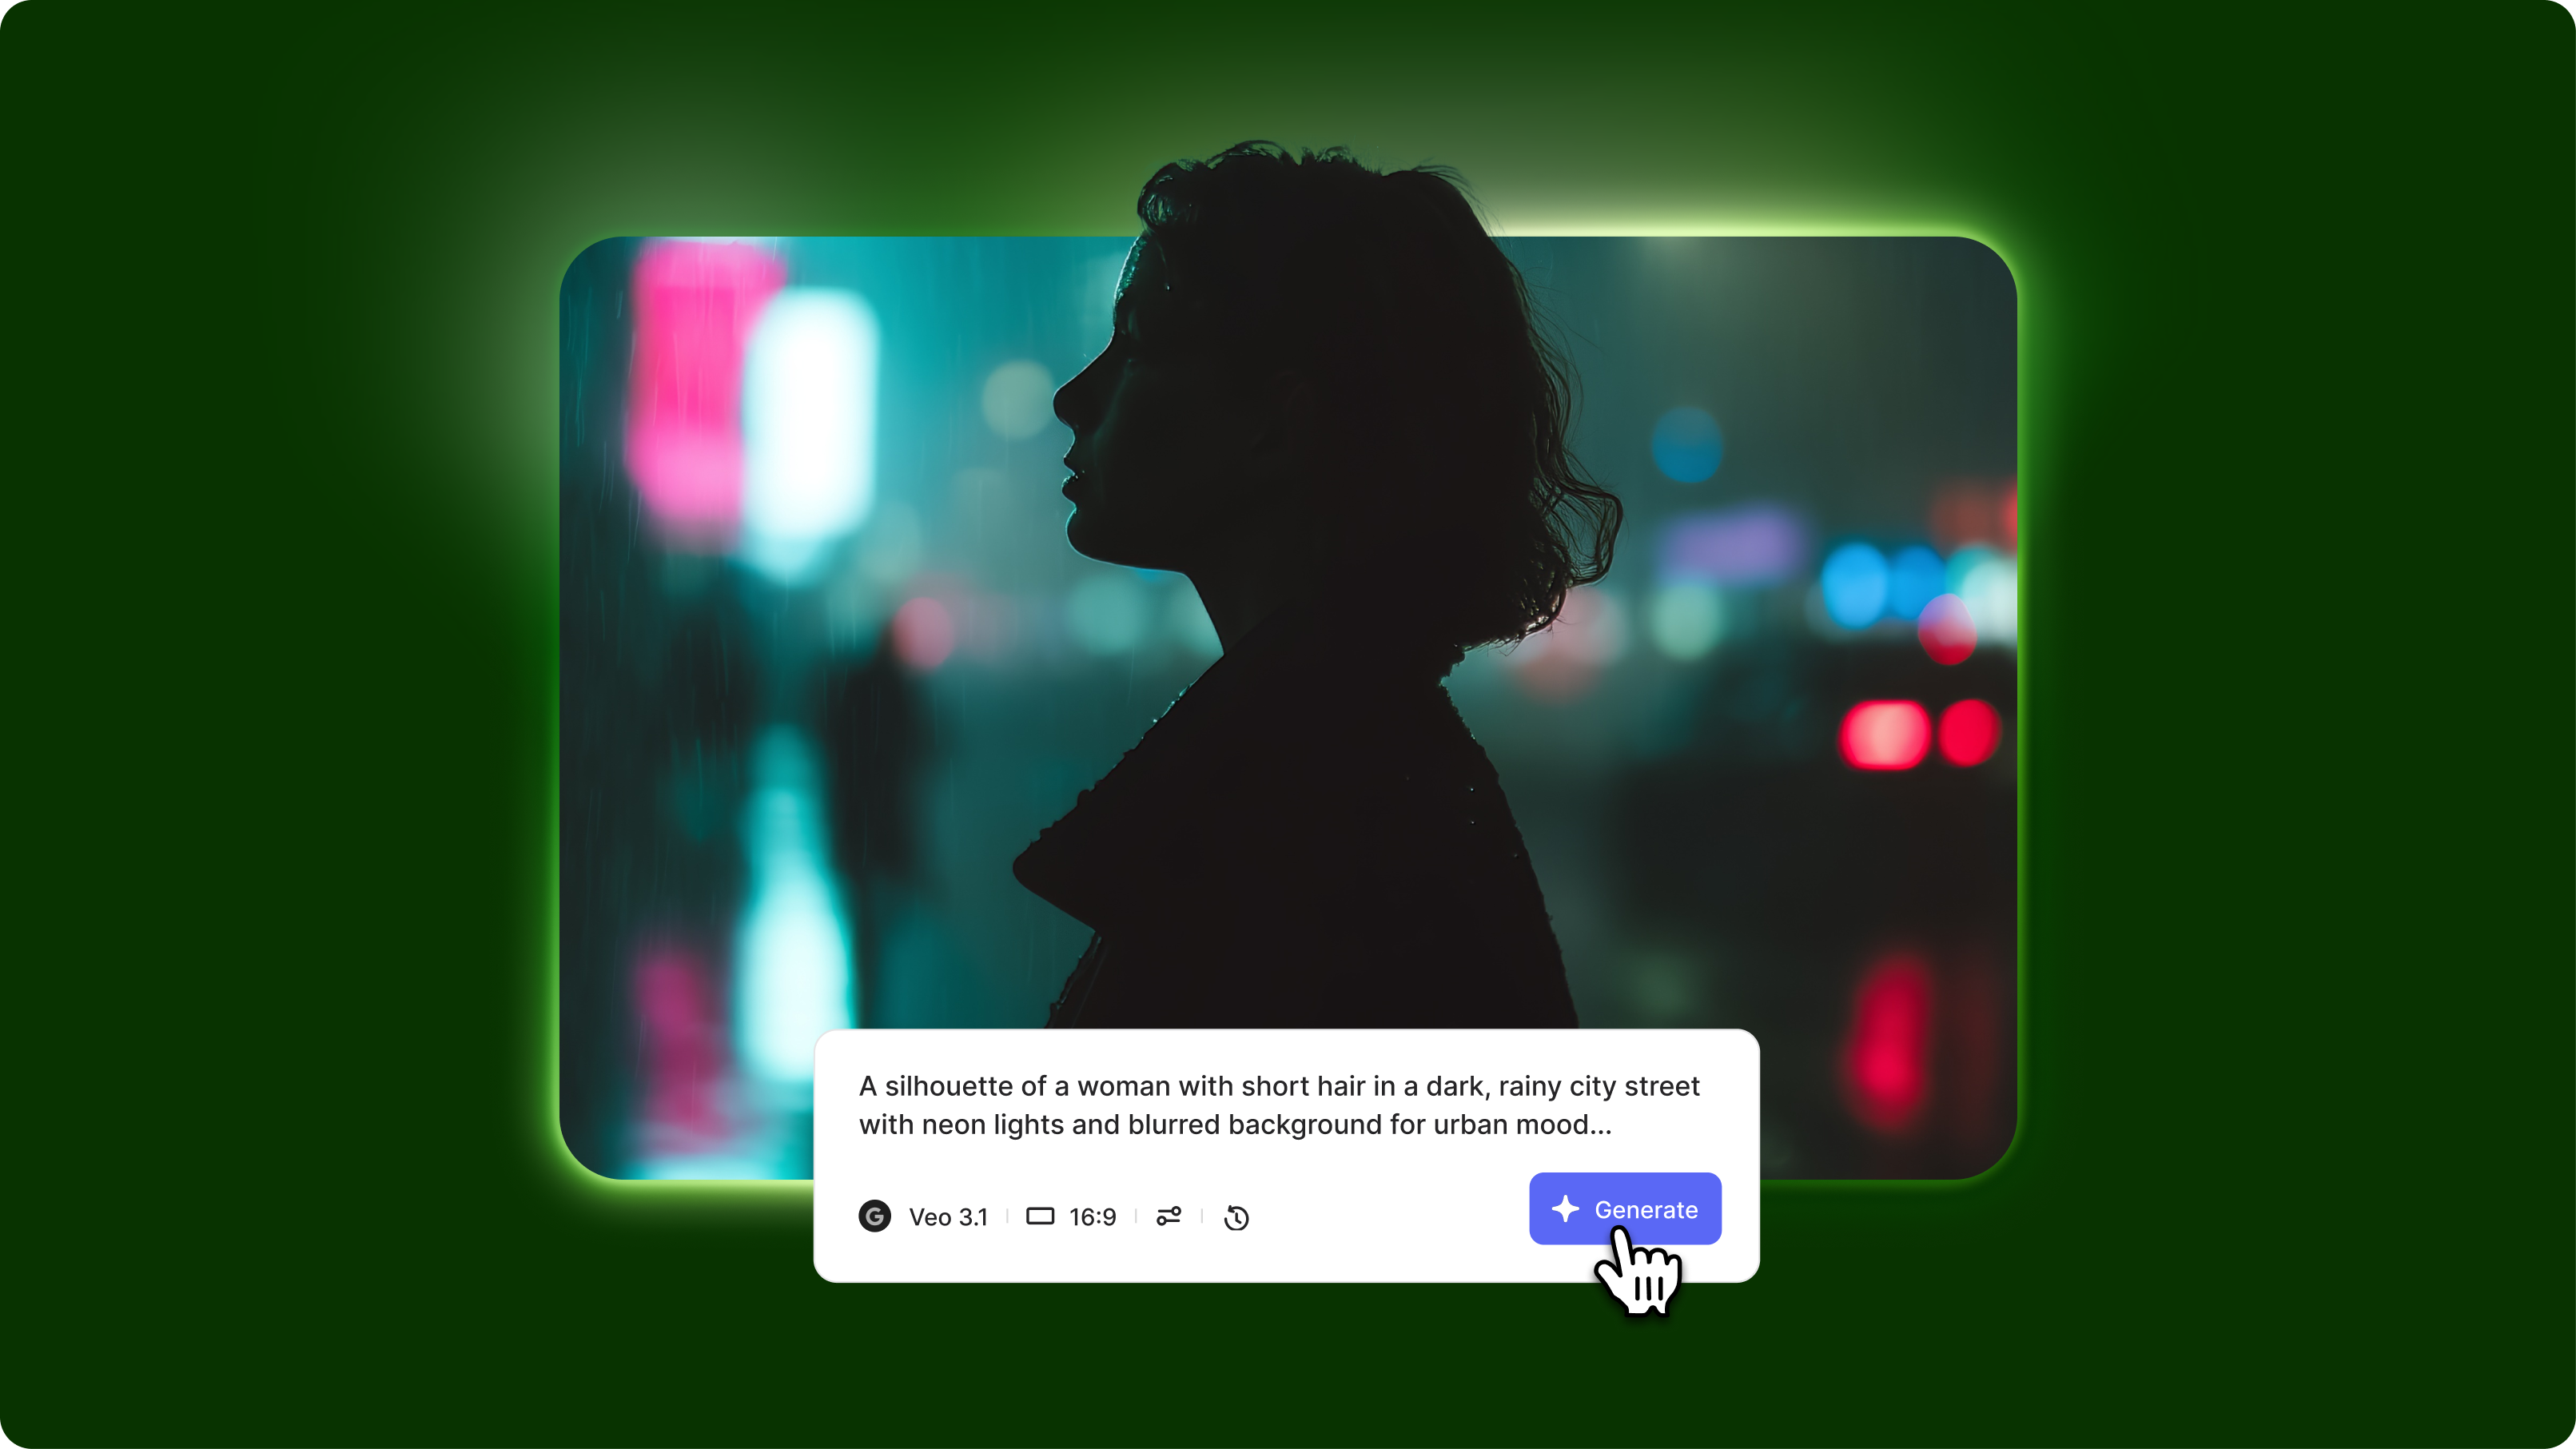
Aspect ratio options:
- 16:9 landscape (YouTube, presentations, widescreen)
- 9:16 portrait (Instagram Stories, TikTok, mobile)
- 1:1 square (Instagram feed, social media posts)
Quality settings:
- Standard: Faster generation, good quality
- High: Slower generation, maximum detail, and fidelity
Choose settings based on your final delivery platform and quality requirements.
Step 6: Generate your video
Click the "Generate" button.
Processing time:
- 5-10 second clips: ~30 seconds
- 30-60 second clips: ~60 seconds
- Up to 2-minute clips: ~90 seconds
You'll see a progress indicator showing generation status. Veo 3.1 renders frames progressively, allowing you to see partial previews during processing.
Review your results: Once complete, watch the full video to check if it matches your vision. Veo 3.1's cinematography interpretation is highly accurate but may surprise you with creative choices.
Step 7: Refine and iterate (optional)
If your first result isn't perfect:
Modify your prompt: Adjust specific elements like camera movement, lighting, or action pacing, then regenerate.
Try variations: Change one element at a time: "Switch from tracking shot to static shot" or "Change golden hour to overcast lighting."
Compare with other models: Switch to another AI video generator in VEED's AI Playground to see how different models interpret the same prompt.
Step 8: Download and integrate
Once satisfied with the results:
Click the download button to save the video to your device in high-resolution MP4 format.
Integration with VEED's editor: Send your Veo 3.1 video directly to VEED's video editor to add text, music, transitions, voiceovers, or combine with other footage—all without leaving the platform.
Tips for better Veo 3.1 results
Tip 1: Master cinematography terminology. Terms like "crane shot," "rack focus," and "Dutch angle" produce specific camera behaviors. Study basic film vocabulary to unlock precise control.
Tip 2: Specify realistic physics.s Veo 3.1's strength is natural physics simulation. Prompts like "fabric draping naturally" or "water flowing realistically" play to this strength.
Tip 3: Use temporal sequence.ng For longer clips, break actions into phases: "First, subject walks forward. Then, stops and looks left. Finally, smiles at the camera."
Tip 4: Layer your lighting description. Instead of "good lighting," specify: "Key light from camera right, fill light from left, rim light backlighting hair, creating dramatic depth."
Troubleshooting common issues
Getting started with Google Veo 3.1
Veo 3.1: how to use effectively boils down to three principles: think like a film director, use professional cinematography language, and leverage the model's physics-simulation strengths. Start with simple static shots using clear film terminology before attempting complex camera movements and extended sequences.
How to prompt Veo 3.1 for the best results is to treat each prompt like a shot list entry from a screenplay—specific, technical, and visually concrete.
Try Google Veo 3.1 in VEED's AI Playground, where you can access it alongside other leading AI video generators and integrate results directly into your video editing workflow.