Quick Summary:
- Most screen recorders overwhelm you with 40+ features you'll never use
- 90% of recording needs require only 3-4 core features: no watermarks, no time limits, instant sharing, basic editing
- Setup should take under 30 seconds; recording to sharing should be instant
- Free plans with watermarks or time limits waste your time
- Choose based on your primary use case: quick shares, professional content, or regular recording
- VEED provides core functionality without feature bloat or artificial limitation and no watermarks on any of our premium plans
You need to record your screen right now. But first, the software wants to tell you about 47 editing features, AI enhancements, and enterprise collaboration tools you'll never touch.
This is the screen recorder paradox. Most computer screen recorders bury simple screen recording behind feature bloat that looks impressive in marketing but clutters your workflow.
Here's what actually matters when you screen record: hitting record fast, getting decent quality, and sharing without friction. Everything else is negotiable.
This guide shows you the 3-4 features that actually affect your recording experience, the marketing fluff you can ignore, and how to choose based on your real workflow.
The feature elimination framework
Before looking at any screen recorder, answer these questions to identify what you actually need versus marketing fluff.
What will you do with 80% of your recordings?
- Quick shares? You need speed and instant links, nothing else
- Tutorial content? You need quality and basic trim editing
- Regular professional content? You need consistency and reliability
Your answer determines which features matter. Everything else is clutter.
The 3-feature test
Ask yourself: "Will I use this feature in my next 10 recordings?"
If the answer is no, it's feature bloat. Good screen recorders give you 3-4 essentials and keep everything else out of your way.
The speed test
How long should each step take?
- Setup to first recording: Under 2 minutes total
- Opening app to actively record: 2 clicks, under 30 seconds
- Stopping recording to shareable link: Instant
If any step takes longer, the tool has added unnecessary complexity.
What actually matters: The non-negotiables
Before you get excited about any features, check these basics for how to screen record effectively.
The 4 core features you actually need
1. No watermarks. If there's a watermark, you'll waste time looking for workarounds or feeling embarrassed about sharing. This isn't negotiable for professional use. It's best to invest in a paid plan that removes watermarks.
2. No time limits. Those 10-minute recording caps kill your momentum mid-explanation. You'll either rush through content or restart multiple times.
3. Instant start. You should go from "I need to record the computer screen" to actively recording in under 30 seconds. If setup takes longer than your actual recording, something's wrong.
4. Direct sharing. The download, upload, then share workflow is unnecessary friction. Good recorders give you a shareable link immediately after you stop recording.
Quality baselines (not marketing specs)
Resolution: 1080p works for 90% of use cases. Screen capture video for tutorials, bug reports, and walkthroughs don't need 4K. You're capturing text and interfaces, not cinematic footage.
Frame rate: 30fps handles screen recordings perfectly. The 60fps option matters for gaming content. For showing someone how to use software, 30fps is indistinguishable from higher frame rates.
Audio: You need a clear microphone input and system audio capture. Complex noise cancellation you'll never configure matters less than consistent, clean audio — though a zero-setup AI noise cancellation tool can help achieve this automatically.
Red flags that indicate feature bloat
- Recorders that emphasize "up to 4K recording!" but bury watermark information
- "Unlimited features!" that require 15-minute tutorial videos before you can record anything
- Multi-step setup wizards asking 10 questions before letting you record
- Five or more clicks to access the record button
- "Optimize your settings" prompts before first use
Choose based on your primary use case
Most people choose screen recorders by comparing feature lists. That's backwards. The right screen recorder depends on one thing: what you're actually recording.
A tool perfect for quick bug reports will frustrate someone making tutorial content. A platform built for course creators is overkill for sharing a 30-second walkthrough with a colleague.
Here's how to match your screen recorder to your actual needs:
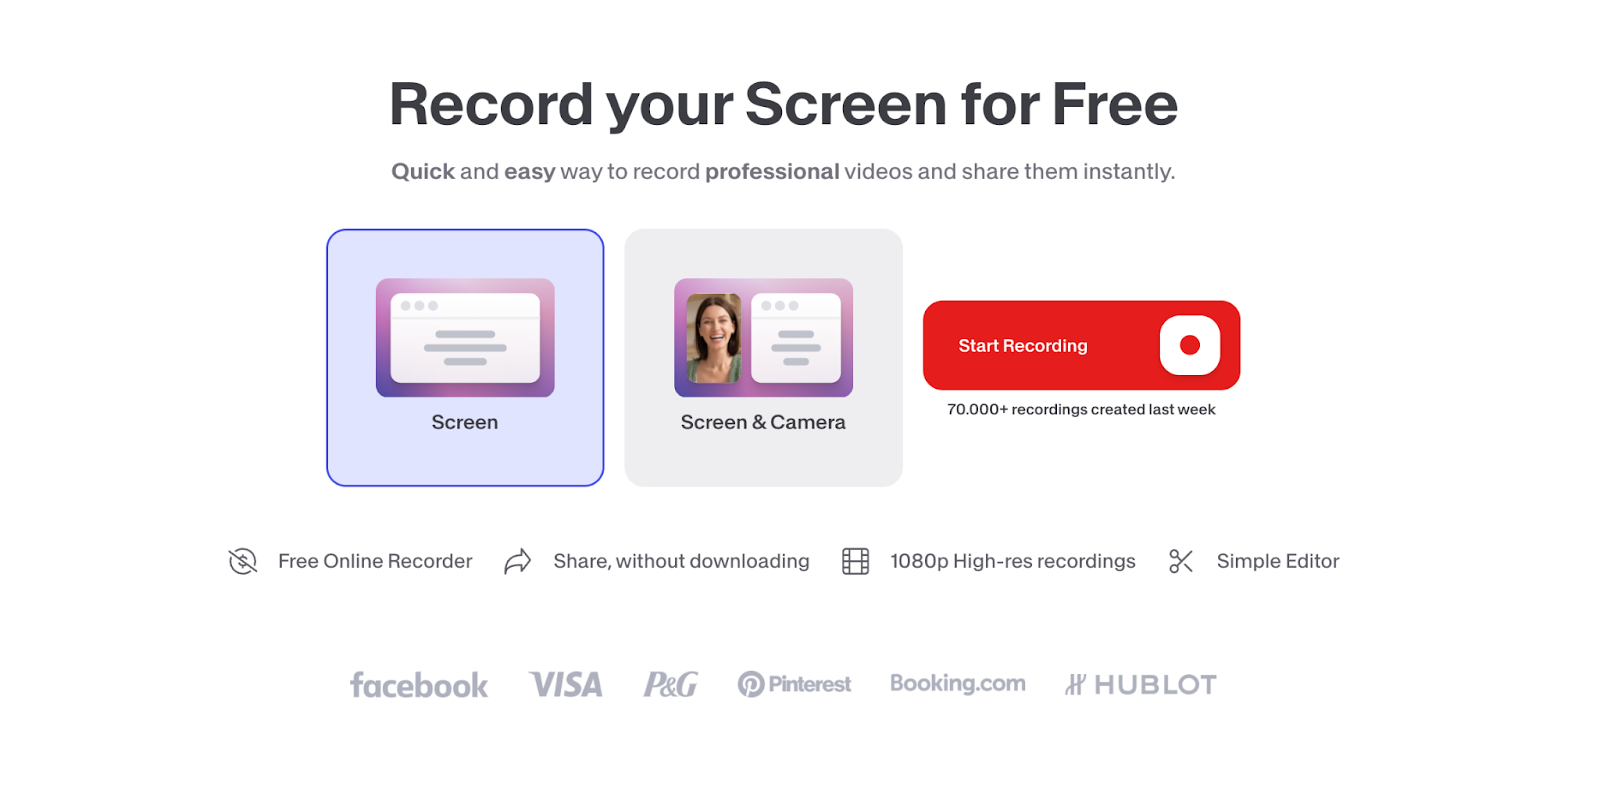
Just need to record and share (simplest tools)
Need to look professional (basic editing)
Recording regularly (mid-tier features)
Features you don't need (feature elimination guide)
Why VEED fits the anti-bloat philosophy
Most screen recorders are either too basic for professional work or drowning in enterprise features you'll never use. VEED takes a different approach.
The philosophy: give you everything you need to record your screen and share it professionally, and eliminate everything that slows you down: no forced tutorials, no setup guides, no feature discovery sessions.
Here's what gets deliberately left out:
What VEED eliminates
- Enterprise overhead: Team workspaces, approval workflows, and permission systems. They get in the way when you just need to record and share.
- Feature creep: Every feature added to an interface is something you have to see, ignore, or navigate around.
- Setup requirements: You shouldn't need to configure anything to record your first clip. Reasonable defaults handle 90% of use cases.
- Marketing fluff: Features that sound impressive but rarely get used in practice just take up menu space.
What VEED keeps
The 4 essentials without limitations:
- No watermarks on any of the premium plans
- No time limits on recordings
- Instant shareable links
- Professional 1080p output without setup complexity
Valuable additions that don't slow you down:
- Basic editing when you need it
- Auto-captions as a toggle, not forced on you
- Templates for consistency if you record similar content
Real workflow speed
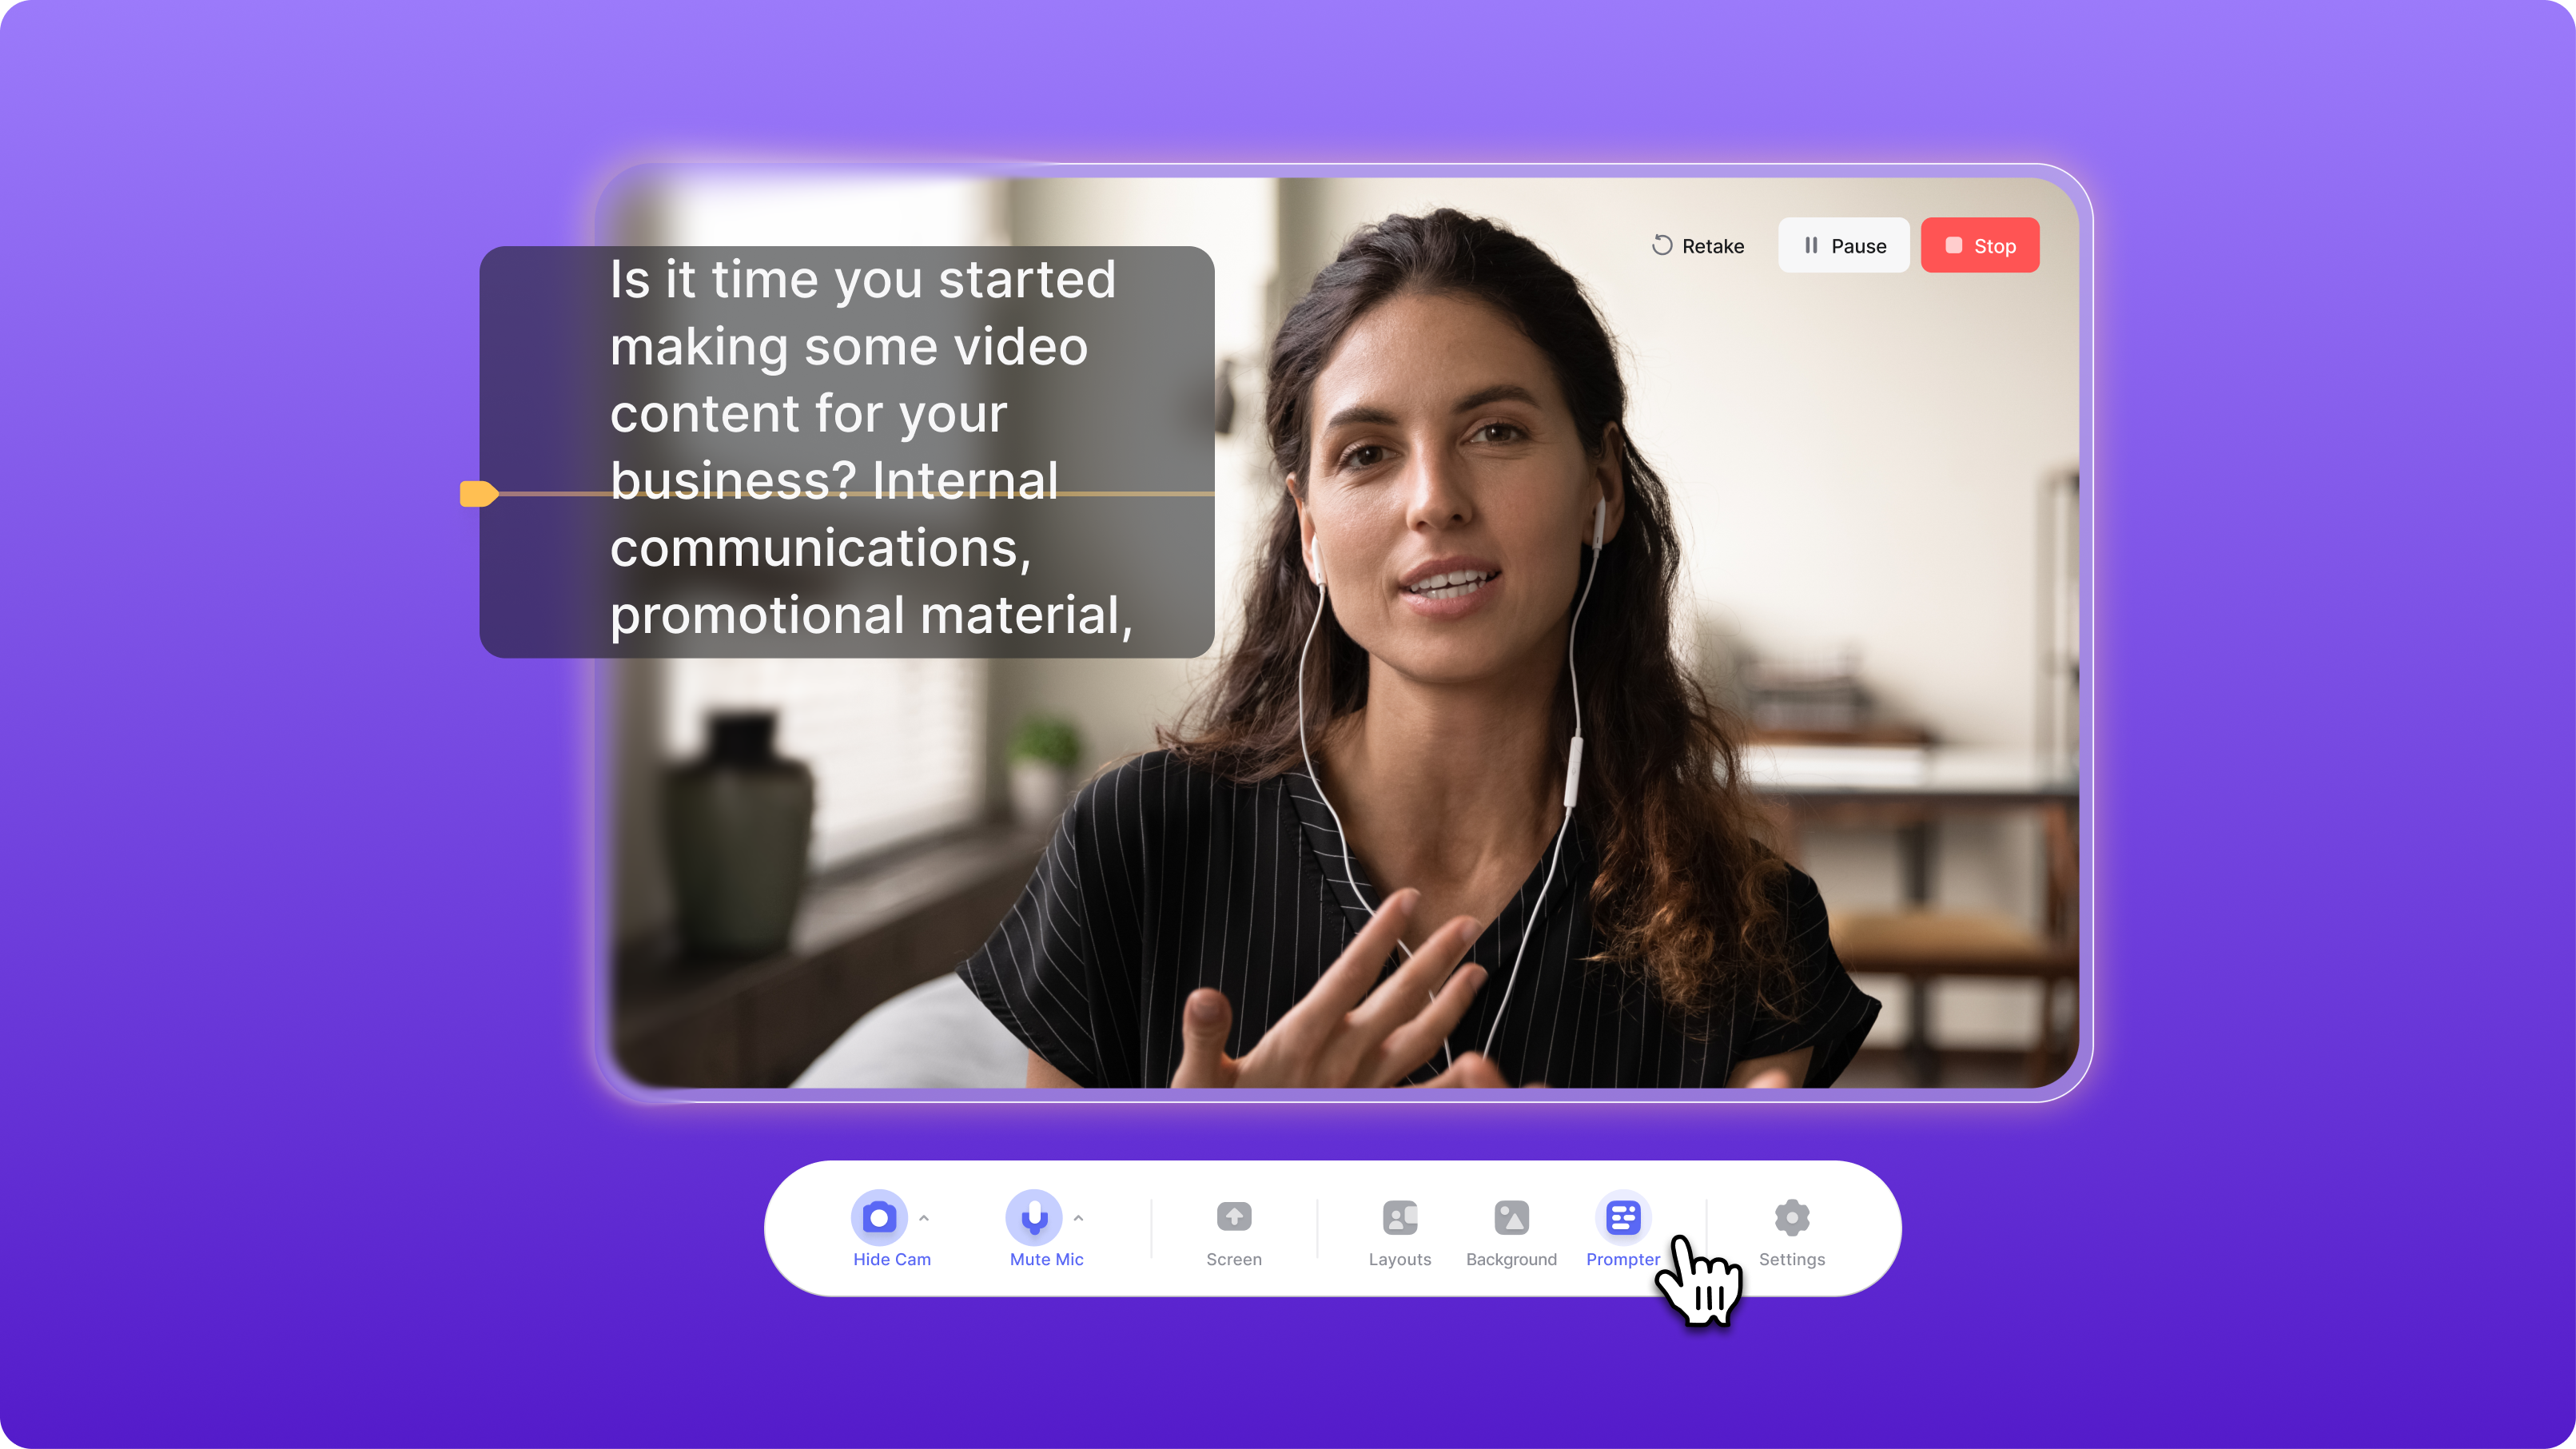
- For quick recording: Open VEED, click Record, show what you need, stop, and share the link in under 60 seconds. This is how you take a video of your screen without friction.
- For professional content: Record, trim mistakes, add captions, export. Polish is available without learning complex editing.
- For regular recording: Consistent performance. No arbitrary limits interrupting your workflow when you hit some threshold.
Start recording now
The best screen recorder is the one you'll actually use, not the one with the longest feature list.
When you need to know how to screen record a desktop or laptop, the answer should be simple: open the tool, click record, capture what you need, and share instantly.
Try VEED's approach. Record your first video in under 60 seconds. No feature overwhelm, no watermarks on premium plans, and no setup requirements.
The features will be there when you need them. But first, let's just get your screen recorded. Ready to record without the bloat? Start using VEED's screen recorder.